How to Make A Beautiful Wooden Hanging Plant Stand In 30 Minutes!
For the past few years, I have been admiring the wooden hanging plant stands and thought I should try to make one myself. This year I made it happen. Today I’m sharing how to make your own wooden hanging plant stand in only 30 minutes! Another easy DIY tutorial that’s budget friendly too!
This post may contain affiliate links. If you make a purchase, I may earn a small commission at no extra cost to you. As an Amazon Associate, I earn from qualifying purchases. Read more about these links in my disclosure policy.
My wooden hanging plant stand is a tad bit different than others but it is the same principle. It is so simple I wanted to share so that you can have one in your own yard too.
My wooden hanging plant stand is made out of treated wood so I don’t have to stain it or seal it. I will seal the cut ends of course.
Using treated wood for this project saves a lot of time. I’m a huge fan of brown treated wood, it looks absolutely fabulous.
In a few years, I can always freshen it up with some Anchorseal cut end. They have the nicest cut end (mocha brown I believe) I have yet to find and the least stinky.
Make sure to wear gloves when using cut end and do it outside cause the stuff smells to high heaven. A few brands give me a bad headache so I make sure to use it outdoors and to keep gloves on (nitrile gloves work the best to keep the smell from penetrating your skin.)
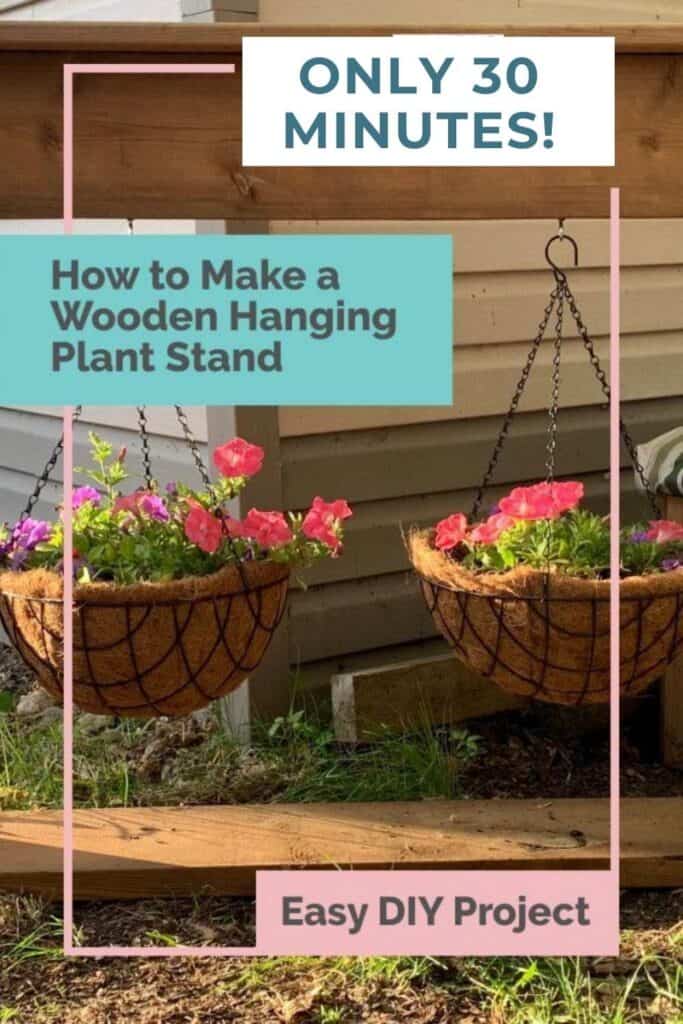
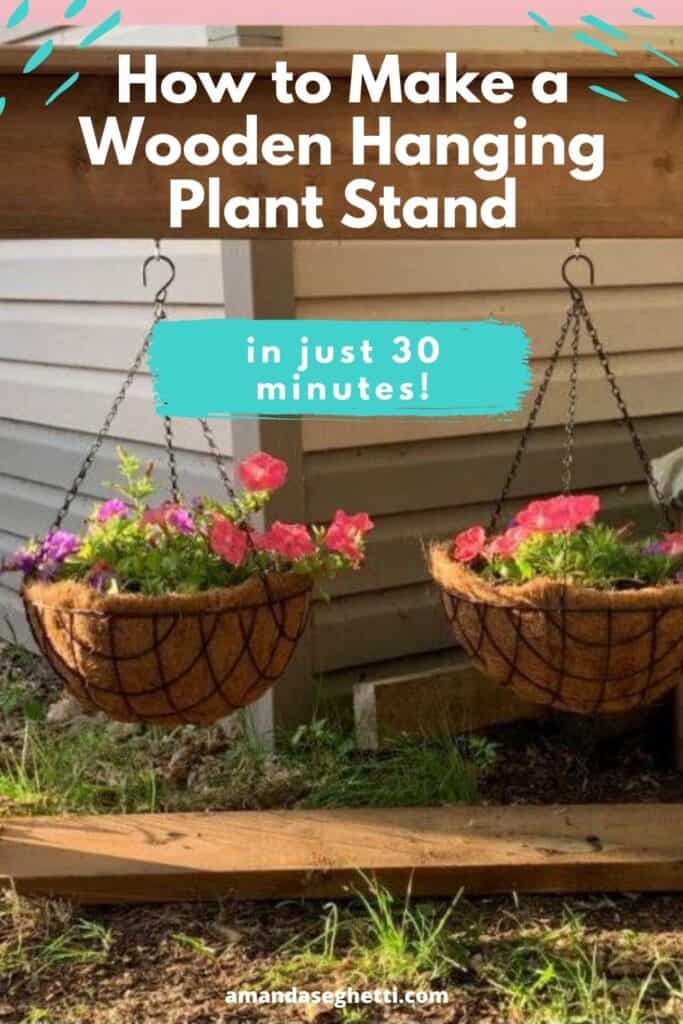
My Double Wooden Hanging Plant Stand
I made my wooden hanging plant stand big enough to hang two hanging plants. I could’ve just made it to hang one planter, but I thought two would look much better! Twice as many blooms, anyway.

Don’t get me wrong, they are absolutely gorgeous with one pot too! But I truly wanted 2 and I did not want 2 individual wooden hanging plant stands.
I have not stencilled mine yet just because I have not decided what I want to write on it if anything. But once and if I do, I will use my Cricut Maker to cut out some Oracal 631 to use as a stencil and spray paint my design on.
I will definitely make sure to tape off the surrounding area so I don’t make a mess. I know a lot of people like the dab method but I truly prefer spray paint. I have much better results and less bleeds with spray paint.
You can see my spray painting tips on my DIY Lantern Post.
Alternatively, you can use Oracal 651 (a permanent vinyl with a six-year life expectancy) to create your design. Easy peasy! I prefer using matte as it looks more like paint and I’m not a fan of glossy.
Let’s Build A Wooden Hanging Plant Stand!
You will need about 30 minutes to build this wooden hanging plant stand. Add a half-hour if you are adding writing.
Brown treated wood in following widths:
- 8 foot 2×4
- 8 foot 2×6 (you will need half of one)
- 8 foot 2×8
You will also need the following:
- 3″ deck screws
- 2 screw-in eye hooks
- 2 hanging pots
- 4 hanging plants (wave petunias or such)
- soil
DIY Wooden Hanging Plant Stand Measurements

- 47 1/2″ 2×6 brown treated lumber
- 39 1/2″ 2×8 brown treated lumber
- 47 1/2″ 2×8 brown treated lumber
- 36 1/2″ 2×4 brown treated lumber x 2
Wooden Hanging Plant Stand Assembly

Step 1. Cut the lumber
Cut the brown treated lumber to the measurements above and as seen in the picture. Seal the ends with cut end to match.
Step 2. (Optional) Add design
Once the wood is cut and if a quote or family name is wanted now would be the perfect time. The writing would go on the 39 1/2″ 2×8 brown treated lumber. This is a step I decided not to do.
NOTE: I predrilled all holes first to ensure no splitting!
Step 3. Assemble Wooden Hanging Plant Stand
Center the 39 1/2″ 2×8 between the 36 1/2″ 2×4 flush at the top of the 2×4’s. Secure using 2 deck screws on each side.
Add the 47 1/2″ 2×6 on top of the 2×4’s and 2×8 ensuring it is flush. Measure to get the same amount of overhang on each side. Secure with deck screws drilling downward along the centre into the 2×8. I used 3 deck screws evenly spaced apart. Drill 2 deck screws from the top of the 2×6 into each 2×4 downward.
Flip over and line up 47 1/2″ 2×8 with equal overhang and center. Secure with 2 screws upward into 2×4’s.
Screw two eye hooks into the 2×8 at top of your stand 10″ from each 2×4 inward.
Step 4. Add Hanging Plants To Stand
Fill hanging baskets with soil and add two plants of your choice to each. As you can see I used two types and made sure they were matching.
Hang the potted plants on the wooden hanging plant stand and give them a good watering.

Enjoy The New DIY Hanging Plant Stand
That is all it takes to make one of these. I think I will leave mine blank as I truly love the natural look.
The wooden hanging plant stand is the perfect project for beginners and a great way to spruce up your yard. The ability to build one in under an hour makes these simple to knock off as a great gift idea for family and friends.
Consider selling these beauties since they are really quite simple and people love a good welcome hanging plant stand.
To be honest, I really was not sure how well the wooden hanging plant stand would actually stand. However, the hanging pots seem to make them much more stable and balanced.
I hope you enjoyed this simple to make DIY Wooden Hanging Plant Stand! Be sure to check out all our other DIY projects. We have some great yards ones like our rustic wooden bench, our cast iron bench makeover and our raised garden bed.

MEET AMANDA
Amanda is a mom of 4 living a mostly crunchy lifestyle outside of Atlanta, GA with her husband, 2 dogs, and a cat. As a former special education teacher who also has her personal training certification — Amanda really enjoys teaching others how to do things!
When she’s not working, Amanda enjoys DIY projects, exercising, photography, hiking, and long walks through Target.


This looks incredible and something I would for sure want to spend sometime learning and crafting…