DIY Woodland Baby Nursery
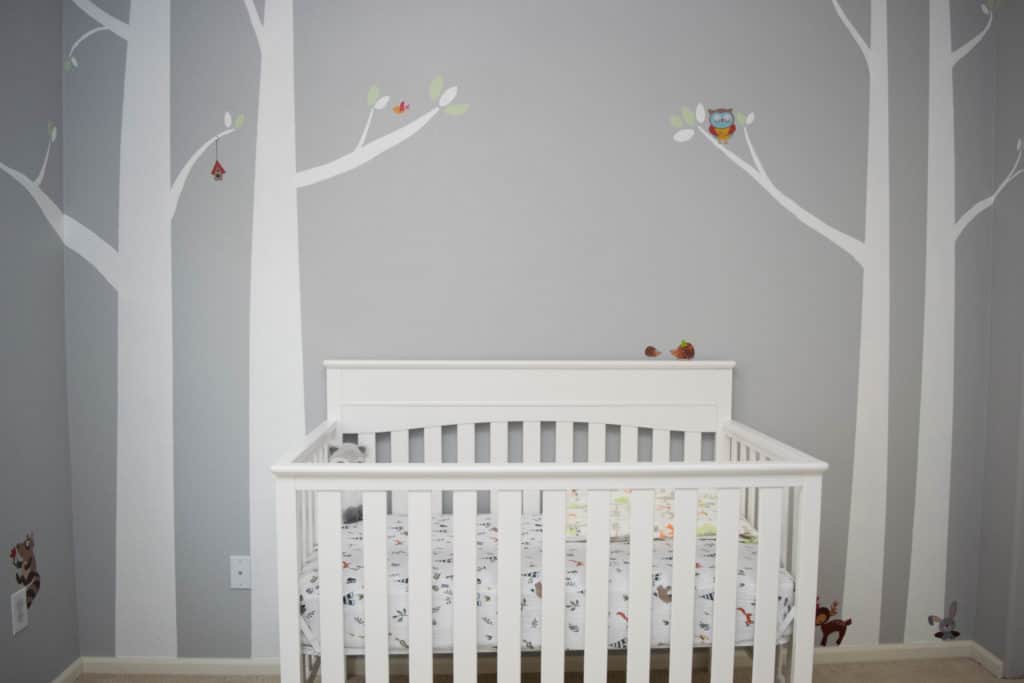
With only 12 weeks left in this pregnancy, I decided it was time to finish the nursery. We wanted to go with a woodland theme baby room this time. I love Aren’s mountain theme nursery, and I wanted to have fun painting again! I looked through Pinterest for some ideas, but I didn’t find ANYTHING that told me step-by-step what to do!
So of course, I just had to do it myself. Here is my solution for a super easy DIY woodland baby nursery.
And bonus – it can be done in ONE day (even when you’re super pregnant!)
This post may contain affiliate links. If you make a purchase, I may earn a small commission at no extra cost to you. As an Amazon Associate, I earn from qualifying purchases. Read more about these links in my disclosure policy.

DIY Woodland Baby Nursery Materials
I usually go to Home Depot for my painting supplies because they are most convenient to my house. Here is what I used:
- 1 quart plain white Behr Marquee paint (eggshell)
- 1 sample of Behr Marquee Avocado Whip paint (eggshell)
- 1 Wooster Pro paintbrush, 1″
- 1 super small roller brush and pan, 3″
- 1 roll blue painters tape (get a good brand, like Duck or Frog tape – quality is really important!)
- 2 of my kids play paintbrushes. Yes, really.


Things I already had on hand – key for opening the can of paint, beach towel to put under my work area (I usually use a plastic drop, but this was a small area I was working with and didn’t want to fuss with all that plastic), ladder, and the base coat of paint for the room (Behr Marquee Light French Gray paint in eggshell)
You can see a wider brush in the photo, but I did not end up using that one. I did about three swipes of paint with it and washed it out. I found the small roller brush worked much better for painting the trees than that brush.

Step 1 – Create Trees with Paint Tape
Of course I first gathered my materials together and protected my carpet with the towel. Then I used the painters tape to make outlines of the tree trunks on the wall.
I made them a little wider at the bottom and more narrow at the top, as a real tree would taper as it got taller. I found it was easier to start at the top and put a little tape on the ceiling, then angle my tape downward towards the floor.


Step 2 – Paint the Tree Trunks
Paint! I used my tiny roller brush and tray to paint the trunks. Because I was using white paint on top of gray paint, it took two coats. But this dried pretty quickly and I felt like two coats was enough. (TIP: Don’t try to cut corners by gooping a thick coat of paint on the wall, thinking you can get away with one coat. That will not end well for you.)
Step 3 – Remove Tape from Walls
As soon as I finished the second coat of white paint, I pulled the tape off of the walls. I could see a little bit of feathering where the paint seeped under the tape, but it wasn’t bad. Any spots that were too obvious were where I decided to create branches!
Step 4 – Paint the Branches
I just picked a few spots and started paining the branches outward, freehand. I attempted to use tape to make lines, but straight tape doesn’t curve very well. So freehand it was!
I used the 1″ Wooster Pro brush for this, but found that it was difficult to get it to taper much at the ends of the branches. That took a bit of trial and error, so some of my first branches were a little thicker than my later ones. But that’s ok, because all tree branches are different sizes and shapes!
The branches took two coats of paint as well.


Step 5 – Paint the Leaves
I used one of my kids paintbrushes (the flat one worked perfectly) to draw white leaves in different places at the ends of the branches. I chose to leave a little space between the branch and the leaf, but it would’ve looked fine to attach the leaves to the branches as well.
After painting the white, I washed out my brush and moved on to the green leaves. Again, two coats of paint looked best here. I also used this brush to go back and touch up any areas of the branches that needed to be fixed.


I had considered painting gray markings on the trees to resemble real birch trees, but I decided I actually liked it better like this, and I was afraid of messing them up! So plain white trees, no markings. But if you want the lines and knots of birch trees, you can just use gray paint to add them in.
Step 6 – Woodland Baby Nursery Animal Decals
While painting mountains and trees is within my painting skills, painting animals is not. The last thing I need is my kid waking in the middle of the night and screaming because he’s terrified that mommy’s rabid-looking squirrel is going to eat him.
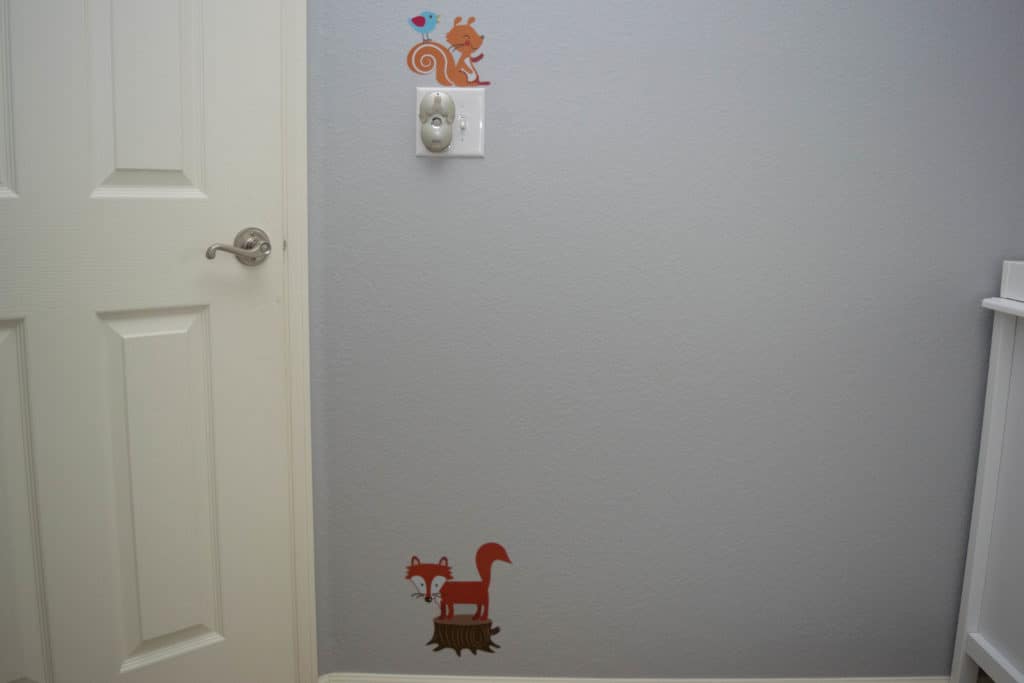
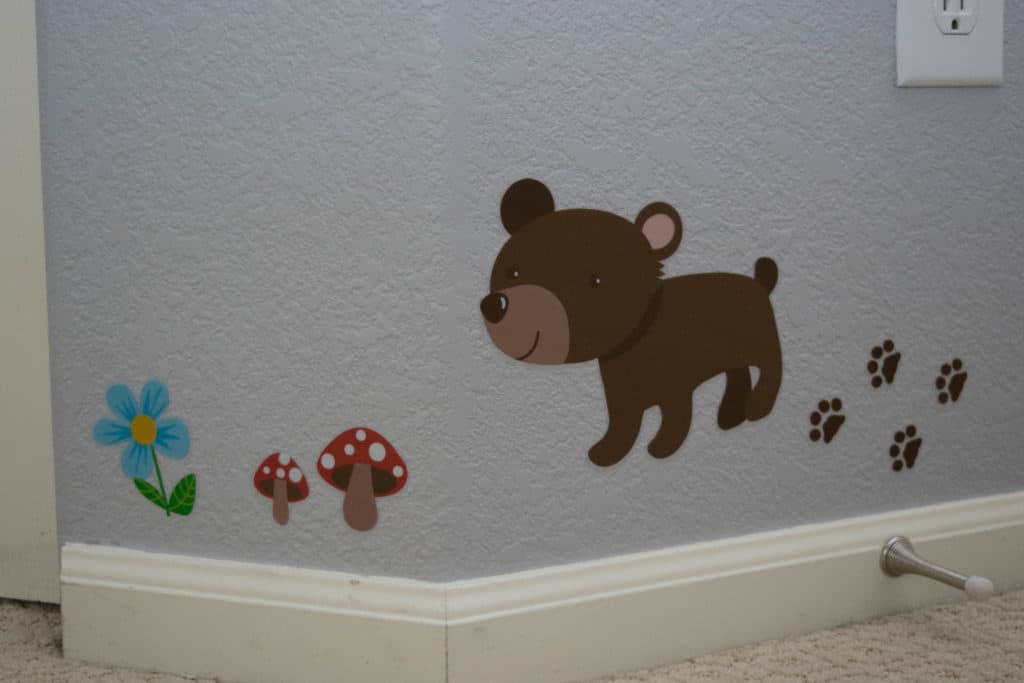
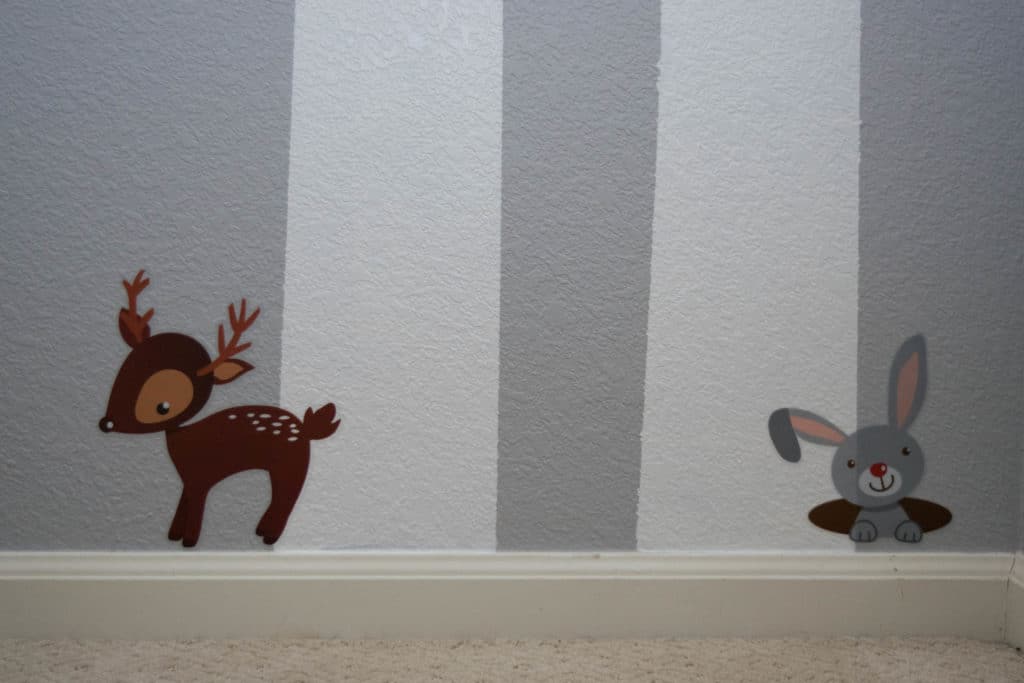
So I found these cute woodland animal decals on Amazon (I bought two different sets because I loved them both) and ordered them instead. Much safer, less scary.
I just placed a few of them randomly around the room, and there are a few decals leftover to either put in Aren’s room, in the toy area, or maybe I’ll save them for when Rowen tears these off the wall in a year.

Related: How to Easily Assemble a Baby Crib (with video)


That’s it! This whole process took me less than a day. I started at 8:00 AM this morning and finished at 4:00 PM, and in the middle I went to buy maternity clothes, groceries, and a new couch. Definitely a very quick and easy DIY woodland baby nursery project that anyone can do!
Did you decide to create a woodland baby nursery for your little one? I’d love to hear about it or see pictures! Leave me a comment below!
UPDATE: After moving to Georgia, we update Rowen’s nursery to a gender neutral room with pops of yellow! Aren’s pink girly bedroom with rainbows and unicorns got a fun update too.


MEET AMANDA
Amanda is a mom of 4 living a mostly crunchy lifestyle outside of Atlanta, GA with her husband, 2 dogs, and a cat. As a former special education teacher who also has her personal training certification — Amanda really enjoys teaching others how to do things!
When she’s not working, Amanda enjoys DIY projects, exercising, photography, hiking, and long walks through Target.


